Can You Use UV Gel as Glue for Press-On Nails?
Press-on nails have become an increasingly popular nail enhancement option for people looking for an affordable and temporary way to change up their manicure. Press-on nails are pre-designed artificial nails that can be pressed onto your natural nails using adhesive tabs or glue. They provide the convenience of a salon gel or acrylic manicure without the cost, time commitment or damage to your natural nails.
UV gel has also grown in popularity in recent years as a nail enhancement product used in salons and at home. UV gel is a strong, flexible polymer that is brushed onto nails, then cured under UV light to harden it. UV gel is commonly used to create long-lasting manicures and nail extensions.
But can UV gel also be used as the adhesive to apply press-on nails? In this article, we’ll explore using UV gel as glue for press-on nails – the pros and cons, proper application and removal techniques.
What is UV Gel?
Contents
Before looking at using UV gel for press-ons, let’s first understand what exactly UV gel is.
UV gel is a thick, polymer resin that is applied to nails and cured under UV lighting to harden it. UV gel nail products are available in various colors and finishes to create nail enhancements and designs.
UV gel has a thick, gooey consistency that adheres well to natural or artificial nails. Most UV gels also contain acrylic monomers, which help the product harden and cure under UV lamps.
Once applied and properly cured under UV light, the UV gel becomes solid and forms a protective layer over the natural nail or nail extension. This makes it an ideal material for creating long-lasting manicures.
Compared to traditional nail polish, UV gel is more durable, harder to chip and lasts 2-4 weeks on average. This durability and flexibility are what makes UV gel potentially useful as an adhesive for press-on nails.
Can UV Gel Be Used as Glue for Press-On Nails?
Now onto the main question – can you use UV gel as the glue or adhesive to apply press-on nails? The short answer is yes, UV gel can definitely be used to adhere press-on nails.
However, there are some pros and cons to consider with this method:
Pros:
- Strong adhesive power – UV gel is extremely effective at sticking to the natural nail bed and artificial nails. The cured gel has a tight grip that can securely hold press-ons in place.
- Durable wear – Press-ons applied with UV gel can last 2-4 weeks with proper application and removal. Much longer wear than traditional press-on adhesives.
- Dries quickly – UV gels fully cure in 3-5 minutes under a UV lamp. No waiting for glue to dry.
- Smooth finish – Brushing UV gel under the press-on creates a smooth, bubble-free finish.
Cons:
- Difficult removal – Removing press-ons applied with UV gel requires gently filing away the gel – acetone cannot penetrate the cured gel.
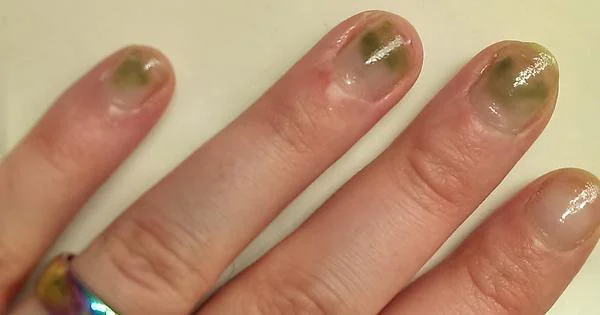
- Harsh on nails – Frequent UV gel application and removal can damage the nail bed and natural nails over time.
- Higher cost – Using UV gel as glue means investing in a UV lamp and buying UV gel polishes. More expensive than basic glue tabs.
- Salon help needed – Applying and removing press-ons with UV gel requires some skill. Visiting a salon is recommended.
While using UV gel as adhesive for press-ons has some distinct advantages like strength and duration, the more complex removal process and potential nail damage are downsides to consider.
Applying Press-On Nails with UV Gel
If you decide to use UV gel to adhere your press-on nails, here is a step-by-step application guide:
Step 1: Prep Your Natural Nails
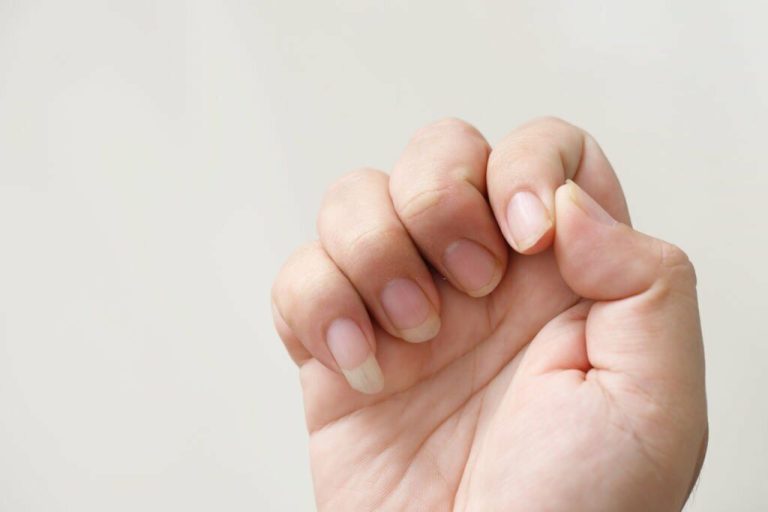
Start by properly filing and buffing your natural nails to remove any oil or debris. Push back and trim your cuticles if needed. Use a dehydrator cleanser on nails so the UV gel adheres well.
Step 2: Apply UV Gel to Natural Nails
Brush a thin, even layer of UV gel onto each natural nail bed. Make sure to coat the entire nail bed surface thoroughly. Only a small amount of gel is needed.
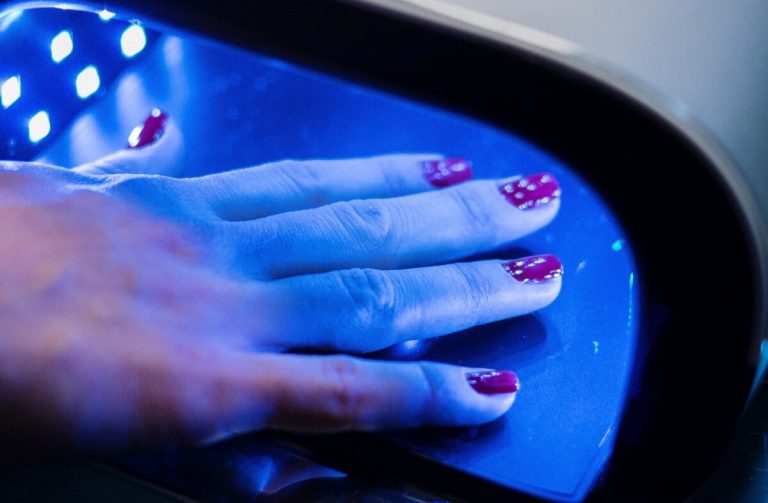
Step 3: Cure the Gel
After applying gel to all nails, cure the gel by placing your hands under a UV nail lamp for 30-60 seconds. Follow your lamp instructions. This will harden the gel base layer before applying press-ons.
Step 4: Prep and Fit Press-On Nails
Size and file the underside of your press-on nails for a proper fit. Rough up the underside surface slightly for the gel to adhere properly.
Step 5: Apply UV Gel to Press-Ons
Use a thin brush to apply a layer of UV gel to the underside of each press-on nail. Ensure full, even coverage.
Step 6: Apply Press-On Nails
Working one-by-one, firmly press each press-on nail onto your prepared natural nail. Hold for 15-20 seconds to allow gel to start adhering before moving onto the next nail.
Step 7: Cure Gel Again
After all press-ons are applied, cure again under UV light for 30-60 seconds. This will fully harden and cure the gel adhesive.
Step 8: Shape and File Nails
Once cured, use nail files and buffers to shape the press-on edges and smooth away any bumps for a flawless manicure.
Tips for Proper Application:
- Only use a thin layer of gel – too much can cause lifting or popping off
- Ensure no gel gets on the surrounding skin – this can lift the press-ons
- Make sure to cure properly under UV or LED lamp after each gel layer
- Gently wipe away any tacky residue after curing gel layers
- If edges lift after curing, apply a bit more gel and re-cure
Proper application is key for press-ons adhered with UV gel to get maximum wear and avoid damage. Take things slow and steady.
Curing the Press-On Nails
Once you’ve applied the press-ons over the UV gel base, curing the nails is essential to harden the gel adhesive.
You’ll need a UV nail lamp. Most standard UV or LED lamps work well for curing UV gel polishes.
Here are some tips for properly curing press-ons applied with UV gel:
- Cure after each layer of gel – base layer and press-on application
- Cure for 30-60 seconds or according to your lamp instructions
- Use a timer to avoid under or over-curing
- Ensure lamp bulbs function properly and aren’t expired
- Position hands 2-3 inches from bulbs during curing
- Cure from multiple angles to fully harden the gel
- Look for a smooth, glossy finish immediately after curing
- Gently wipe away any sticky residue after curing
Take the curing step seriously to get maximum wear from press-ons applied with UV gel. Rushing this step can lead to premature lifting or popping off. The curing lamps completely harden the gel adhesive for strong, durable wear.
Removing Press-On Nails Applied with UV Gel
Taking off press-ons glued with UV gel takes a little more care than traditional press-on removal. Here is the safest process:
Step 1: File Off Gel Residue
Use a coarse nail file to gently remove and file down the cured UV gel around the edges of your press-on nail. Work slowly and carefully to avoid scraping your natural nails.
Step 2: Soak in Acetone
After removing excess gel, soak a cotton ball in pure acetone nail polish remover. Press it onto each press-on nail and let it soak for 10-15 minutes. This helps further break down the cured gel.
Step 3: Gently Remove Press-Ons
Once the acetone has soaked, very carefully slide a flat tool under the edge of each press-on to gently pry it off your nail. Take your time, stopping if any pain occurs.
Step 4: File Away Remaining Gel
Use a file to gently buff away any remaining bits of cured gel stuck to your nails. Don’t forcefully scrape or pick the gel away.
Step 5: Hydrate Nails
Apply cuticle oil or moisturizing cream to your nails and cuticles to nourish them after press-on removal.
Avoid pulling off press-ons glued with UV gel abruptly or you can risk damaging the natural nails. The filing and soaking process is gentler on your nails.
Aftercare following removal is also key – give your nails a break between applications and keep them moisturized.
The Bottom Line
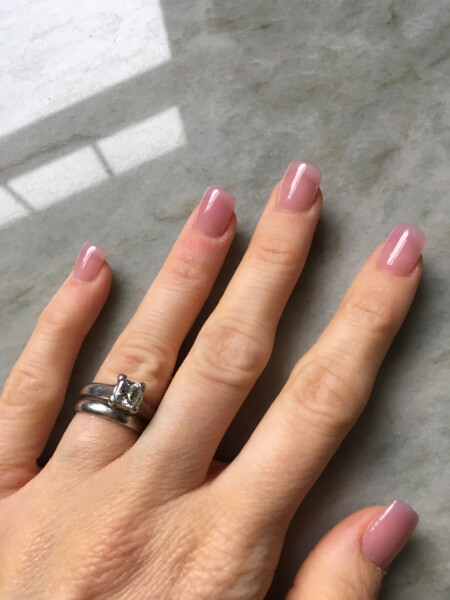
At the end of the day, it is possible to use UV gel polish as the adhesive for applying press-on nails, allowing you to get durable wear for 2-4 weeks from press-ons.
However, removal must be done carefully to avoid nail damage. Frequent application and removal also isn’t recommended for nail health. Weigh the pros and cons before trying this method.
When applied and cared for properly though, UV gel can be a strong adhesive option for temporary press-on manicures. Just take precautions against potential damage and you can safely enjoy long-lasting press-on nails.
Founded by Sophia Rodriguez, IGXO Cosmetics is a PETA-certified, cruelty-free, and vegan makeup brand.