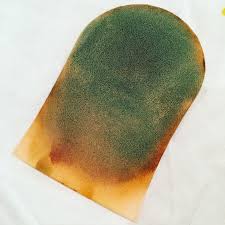
Why Your Fake Tan or Self Tanner Turned Green? How To Fix?
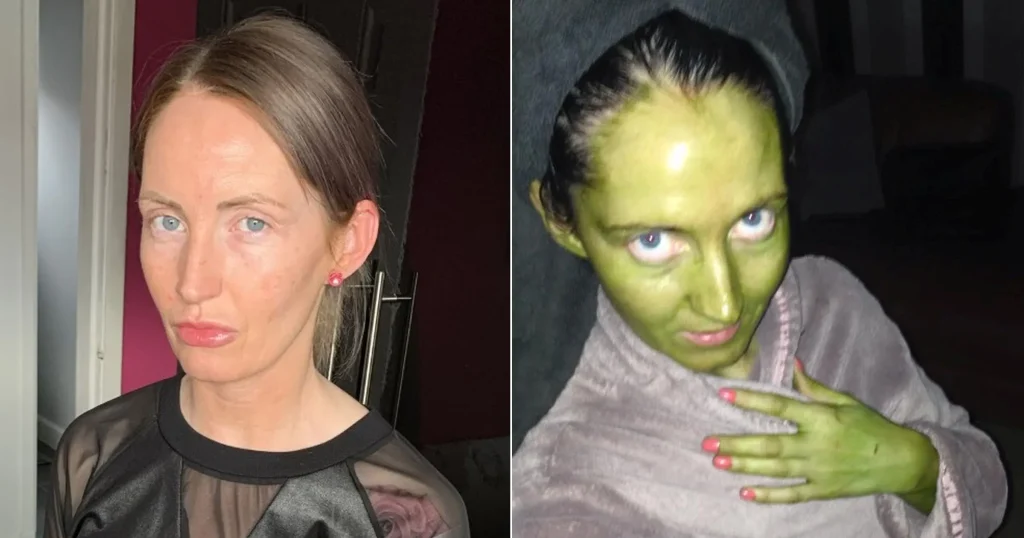
We’ve all been there. You meticulously apply your favorite self-tanner, wake up the next morning feeling like a golden goddess, and then…you notice it. Your skin has taken on a greenish or olive tint! Where did you go wrong? Is there any way to fix this green skin fiasco?
I’ve been through my fair share of green tanning disasters, so let’s break down the reasons why your fake tan turned green and what you can do to troubleshoot.
Expired or Low Quality Self-Tanner
Contents
One of the most common reasons for a greenish fake tan is using an expired or low quality product. Self-tanners contain an active ingredient called DHA (dihydroxyacetone) that reacts with amino acids on the outer layer of your skin to create that sun-kissed glow. However, DHA has a shelf-life. Over time, the chemicals in self-tanner can oxidize and break down, often resulting in products turning shades of green, brown, or grey.
Always check the expiration date before applying your self-tanner. Even if it hasn’t reached the expiration date, a product that is over a year old has likely started to oxidize and degrade. If you notice any color changes in the actual product or the consistency seems off, toss it out! Using expired products will often lead to green-hued skin. I made this mistake recently with an old bottle I had forgotten about. The liquid was more grey than brown, but I tried using it anyway. Big mistake – my skin turned olive green in a matter of hours!
Along with using expired self-tanner, low quality products are also prone to turning skin green. Drugstore self-tanners tend to have lower concentrations of DHA and more fillers and alcohol, which can interact poorly and cause oxidation. Spend a few extra bucks on salon-quality self-tanners, and always store them properly to get the most out of your investment.
Improper Storage
Speaking of storage, how you store your self-tanner plays a big role in preventing oxidation and avoiding a green tint. Sunlight and heat are the #1 enemies of DHA! Leaving your self-tanner in a hot car, steamy bathroom, or sunny windowsill can cause the product to destabilize and turn green or brown.
For best results, store self-tanner in a cool, dry place out of direct sunlight. The ideal storage temperature is around room temperature or slightly cooler. Keep the bottle capped tightly and standing upright to prevent leaks. I like to keep mine in the bedroom closet along with my other body care items. Sunlight streaming through bathroom or car windows has ruined many bottles of self-tanner!
Not Prepping Your Skin
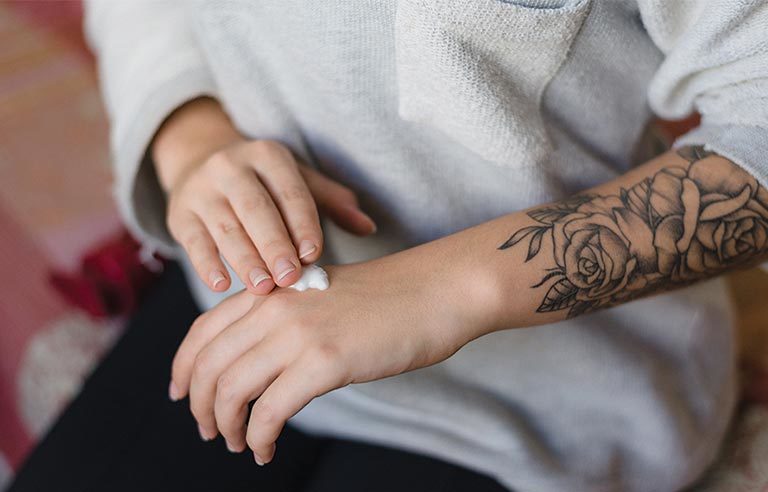
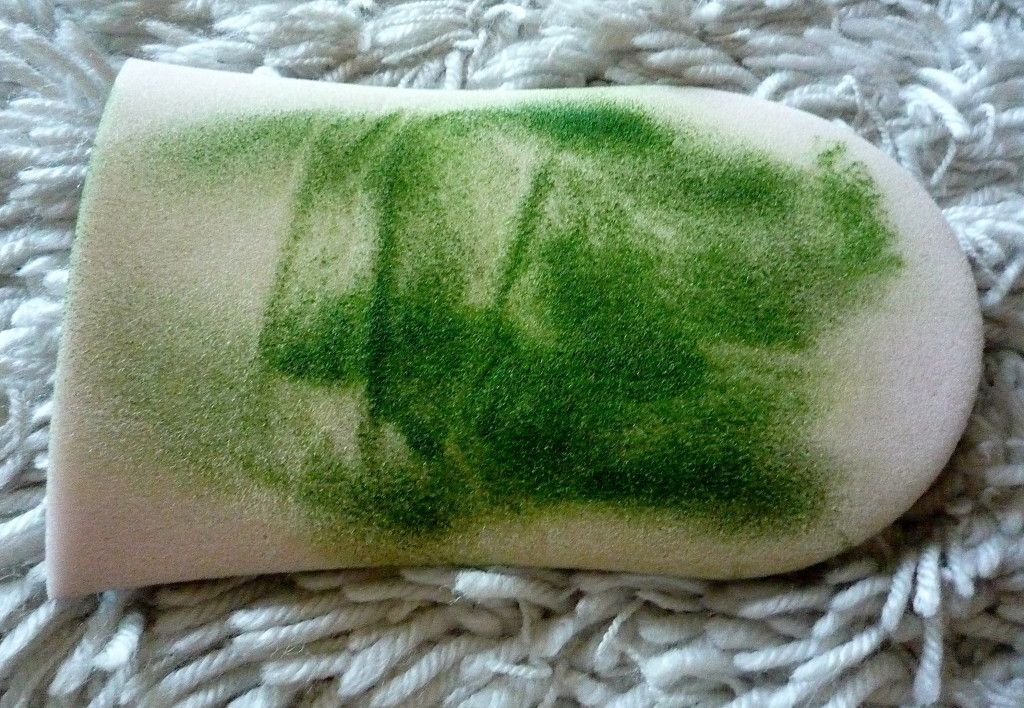
Patchy greenish tones can also be the result of not properly preparing your skin before self-tanning. For an even application, you need to start with exfoliated skin free of oils, cosmetics, and dead cells. When self-tanner is applied to un-exfoliated skin, it absorbs unevenly and settles into dry patches, often causing a greenish tint in rough areas like elbows, knees, and heels.
My best tip is to gently scrub and moisturize your skin the day before self-tanning. Use an exfoliating gloves or scrub to slough off any dead skin, then apply body cream everywhere, especially on drier areas like knees and heels. This smooths and hydrates so the self-tanner absorbs evenly. Right before applying your tanner, use an alcohol wipe to remove any remaining oils, perfumes, or creams.
How It Happens
Now that we’ve covered why it happens, let’s look at the chemistry behind green self-tanner. DHA reacts with the amino acids and proteins in the stratum corneum, the outer layer of skin. Through this reaction called the Maillard Reaction, tan color develops. However, as DHA oxidizes over time, these reactions can go awry, resulting in green and grey tones rather than golden browns.
Skin type also comes into play. Those with fair or dry skin tend to turn green more readily than olive and dark skin tones. The reason lies in the concentration of amino acids and proteins. Lighter skin produces less melanin and contains lower levels of amino acids for the DHA to react with. With fewer proteins to bond with, the chemical reaction with DHA has a higher likelihood of resulting in a green hue.
Additionally, chemicals found in deodorant, antiperspirants, perfumes, and fragrant lotions can react with DHA and throw off the color balance. The aluminum in deodorants is a common culprit when it comes to creating green undertones after self-tanning. As we sweat, these products leach onto the skin and mix with self-tanner, causing oxidation and discoloration.
Can You Wash Off Green Self-Tanner?
Here comes the good news – green self-tanner washes off easily! A simple scrub with soap and water is usually all you need to remove the green hue and return your skin to its natural shade.
However, there are a couple caveats. If the self-tanner has started to oxidize and turn brown, washing with soap alone may not completely remove the deeper tan color. Heavily oxidized DHA can create a lasting tan, even if it starts off green at first. In this case, specialized self-tanner removers work best to lift away the color.
The other consideration is what caused the green tint in the first place. If it’s due to using expired or poor quality tanner, the green color will wash away but that tanner should be tossed out to avoid repeats. For solution like properly prepping skin or avoiding deodorants, those steps will still need to be taken next time.
How to Prevent Self Tanner from Turning Skin Green
Now that we know why it happens, let’s focus on avoiding green self-tanner in the future. Follow these simple tips for flawless, natural-looking results every time you self tan.
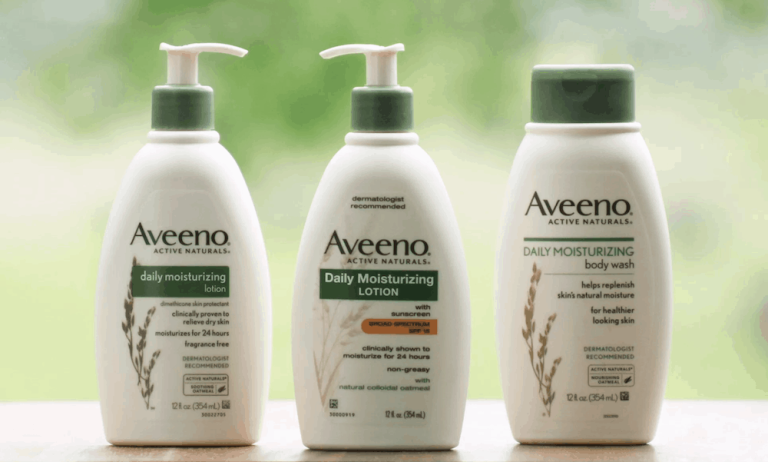
Choose High Quality Products
Not all self-tanners are created equal! Seek out reputable professional brands known for quality and safety. Stay away from super cheap drugstore tanners using high levels of alcohol and fragrance. Be wary of independent distributors selling DHA products with loose regulations. Salon-quality brands may cost more upfront but save money compared with throwing out oxidized, low-grade tanners.
Check Expiration Dates
Mark your calendar when you open or purchase self-tanner so you know when it expires. Write the expiration directly on bottles with a marker so it’s visible. Always do a quick sniff and visual inspection of color and texture before applying. If in doubt, toss it out!
Proper Storage is Key
Improper storage is one of the main reasons self-tanner products oxidize and turn skin green. Keep bottles tightly sealed, standing upright and out of direct light. Aim for a cool, dry place around room temperature. Never leave products in your car or steamed-up bathroom.
Prep Skin Properly
Sloughing away dead skin cells, oils, and cosmetics allows self-tanner to absorb evenly for flawless color. Gently exfoliate and moisturize the day before. Just before tanning, wipe skin with an alcohol pad or toner to de-grease.
Removing Green Self Tanner
When all else fails and you’re stuck with visible green tones, don’t panic. Removing or fading green self-tanner is totally doable at home.
Exfoliate
Using a scrub or loofah, gently buff away the stained outer skin cells. Focus on areas like knees, elbows and heels with heavier green tint. Combined with regular cleansing, this removes most traces of green self-tanner.
DIY Remedies
For stubborn tint, try making a paste from baking soda and lemon juice. Apply to discolored areas and let sit 5-10 minutes before rinsing. The citric acid helps break down the staining while baking soda is a gentle exfoliant. Repeat as needed to lift out the green.
Specialized Removers
Look for over-the-counter self-tanner removers formulated to break down and remove excess DHA. Products containing sodium thioglycollate or DHA work well. However, test first for sensitivity and limit use to avoid overly drying out your skin.
Professional Removal
For a deep cleanse, visit a salon for a professional spray tan removal service. Estheticians use a strong solution followed by extraction techniques to thoroughly lift color. This works great for stubborn tans but avoid doing too frequently to prevent skin damage.
The Takeaway
While frustrating, green self-tanner doesn’t have to spell disaster for your beach-ready look. Now that you know how it happens, prevention is possible with a few simple tweaks:
- Invest in quality products and check expiration dates
- Store self-tanners properly away from heat and light
- Prep skin carefully before tanning
- Test small sections first when trying a new brand
And if all else fails, take heart in knowing a few gentle scrubs or self-tanner remover can erase the green and get you back to bronze. With a few lessons learned, your next self-tan will leave you with gorgeous, natural-looking color.
Founded by Sophia Rodriguez, IGXO Cosmetics is a PETA-certified, cruelty-free, and vegan makeup brand.