Setting Powder vs Baking Powder: the Key Differences
As a makeup enthusiast, I used to get so confused trying to figure out the difference between setting powder and baking powder. Which one was I supposed to use and when? Could I use them interchangeably? What was the right technique for applying each one?
After plenty of trial and error, I’ve finally mastered the nuances between these two vital makeup products. Keep reading as I break it all down for you in this comprehensive guide to setting powder vs baking powder.
An Introduction to Facial Powders
Contents
- An Introduction to Facial Powders
- Baking Powder Makeup Technique
- Makeup Baking Powder
- Traditional Setting Powder
- Benefits of Setting Makeup with Powder
- Baking Powder vs Setting Powder
- Setting Powder vs Translucent Powder
- Benefits of Banana Powder
- Baking Powder Technique How-To
- Setting Makeup with Powder Foundations
- How to Apply Setting Powder
- Loose vs. Pressed Setting Powders
- Using Setting Powder Without Foundation
- Setting Makeup for Dry Skin
- Can Sensitive Skin Use Setting Powder?
- In Conclusion
Before we dig into the nitty gritty differences, let’s start with a quick overview. Both setting powder and baking powder fall under the broad category of facial powders. Their purpose is to set liquid or cream makeup products and make them last longer on your skin.
Setting powders are transparent, tinted, or colored powders that you lightly dust over your foundation or concealer. This sets the makeup in place so it doesn’t slide around, transfer, or melt off throughout the day.
Baking powder refers to any powder you use for the specific technique of baking your makeup. This involves pressing a generous amount of powder into the skin and letting it sit for 5-10 minutes before dusting off the excess.
So baking powder is really just a type of setting powder used in a particular way. The baking process takes setting makeup a step further by truly locking it into place. Now that we’ve got the basics down, let’s explore the differences between these powders more in-depth.
Baking Powder Makeup Technique
The term “baking” comes from the idea that you are essentially baking the makeup into your skin. Professional makeup artists popularized this method for creating flawless, long-lasting full coverage looks. Here is an overview of how the baking technique works:
- Step 1: Apply liquid foundation, concealer, cream contour, etc. as usual and blend well.
- Step 2: Press a generous amount of loose baking powder directly onto the areas you want to set – under eyes, smile lines, forehead, chin, etc.
- Step 3: Let the powder sit for 5-10 minutes without touching or moving your face. This allows the heat from your skin to really set the makeup in place.
- Step 4: Dust away all excess powder with a large fluffy brush. This reveals smooth, creaseless makeup that won’t budge all day!
Pro Tip: Dampen your makeup sponge before pressing powder into the skin. This helps the powder adhere better.
Baking works well for oily skin types because it mattifies the complexion. However, it can cling to dry patches and fine lines. The key is not overdoing it! Just a light dusting of powder in targeted areas is sufficient for most.
Makeup Baking Powder
When people refer to “makeup baking powder”, they are talking about any loose powder suitable for the baking technique. Traditional makeup baking powders are extremely fine and lightweight. Common choices include:
- Laura Mercier Translucent Loose Setting Powder – The OG baking powder, this sets makeup without adding color
- RCMA No Color Powder – Affordable, colorless loose powder for pro makeup artists
- Sacha Buttercup Setting Powder – Brightening yellow tint controls oil and shine
- Coty Airspun Loose Face Powder – Budget-friendly option available at the drugstore
- Fenty Beauty Pro Filt’r Instant Retouch Setting Powder – Mid-range choice in various tints
Apply your preferred baking powder generously under the eyes, on the smile lines, forehead, and other oily spots. Let it sit for 5-10 minutes before dusting off excess. Voila! Your makeup is locked into place.
Traditional Setting Powder
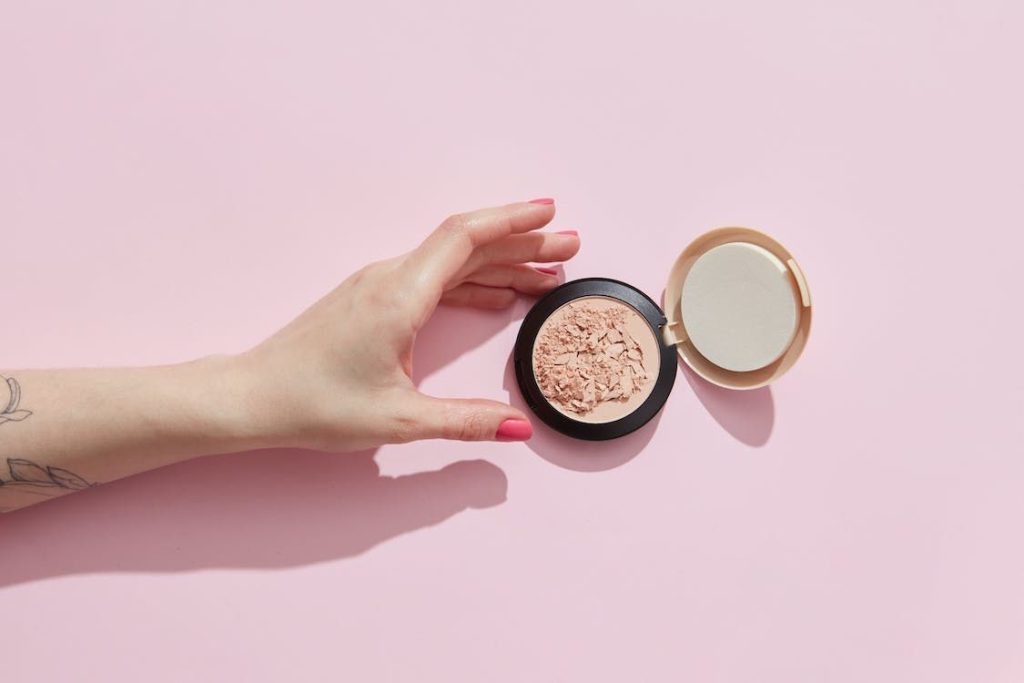
Setting powder refers to any face powder used to set liquid or cream makeup. Rather than letting it bake, traditional setting powder is lightly dusted on top of foundation with a fluffy brush or powder puff. Here’s how to use it:
- Apply liquid foundation, concealer, and cream products first
- Let them sit for 2-3 minutes until slightly set
- Take a fluffy powder brush and swirl it into your setting powder
- Gently press powder into skin starting at the center of the face and working outward
- Avoid rubbing or excessive buffing to prevent lifting makeup
Pro Tip: For best results, press the powder into skin rather than sweeping it on. This deposits the pigment exactly where you want it.
Benefits of Setting Makeup with Powder
Why bother with setting powder or baking in the first place? What difference does it really make? Here are some of the key benefits of taking the time to set your makeup:
- Extends the wear time of foundation, preventing transfer, fading and melting
- Locks concealer in place preventing creasing under the eyes
- Instantly mattifies skin and controls shine all day long
- Gives makeup a smooth, flawless finish
- Prevents makeup from settling into fine lines and wrinkles
- Sets cream bronzers, blushes, eyeshadows and prevents creasing
- Perfects highlights and adds structure when contouring
For these reasons, setting your makeup with powder is a game-changing step for makeup longevity!
Baking Powder vs Setting Powder
Now that we’ve covered the basics, let’s discuss the key differences between traditional setting powder and baking powder:
- Application: Baking requires pressing on a thick layer of powder and waiting 5-10 minutes. Traditional setting powder is lightly dabbed on.
- Coverage: Baking adds coverage and fullness for a perfected, airbrushed look. Setting powder maintains the existing coverage.
- Longevity: Baked makeup stays locked in place for 12+ hours! Set makeup lasts 8-10 hours.
- Finish: Baking results in a matte, smooth finish. Setting powders can be matte or luminous.
- Skintype: Baking works best for oily skin. Dry skin benefits from hydrating, luminous setting powders.
As you can see, baking powder is ideal when you want super locked-in makeup that won’t budge. Traditional setting powder offers more flexibility for customizing your finish.
Setting Powder vs Translucent Powder
Another common question is the difference between setting powder and translucent powder. Essentially:
- Setting powders can be any shade. They set makeup and control shine.
- Translucent powders don’t add color. They set makeup and reduce the appearance of pores.
So translucent powder is a type of setting powder that won’t alter your foundation shade. Popular options like the Laura Mercier Translucent Powder work for all skin tones.
Benefits of Banana Powder
Banana powder has gained popularity for its color correcting abilities. This yellow-hued powder can be used in two ways:
- Set under eye concealer to brighten dark circles
- Dust all over face to color correct redness and even skin tone
The yellow pigments in banana powder counteract blue and purple tones in the skin. When used for baking, it provides creaseless, flawless undereye concealer all day. Those with dark circles find it especially effective.
Baking Powder Technique How-To
If you want to master the baking technique for seriously long-lasting makeup, follow these simple steps:
Prep
- Moisturize skin well and apply primer as usual
- Mix liquid foundation with a hydrating serum for a smooth base
Bake
- Apply foundation, concealer, cream contour, blush, etc. and blend out
- Press baking powder into skin with damp sponge wherever needed
- Leave for 5-10 minutes then dust off gently with a big fluffy brush
Finish
- Mist face with setting spray for a luminous finish
- Apply bronzer, highlight, setting powder as needed on top
With practice, you’ll get the baking technique down to lock in your makeup all day or night! Start with minimal product first to avoid looking cakey.
Setting Makeup with Powder Foundations
We’ve focused a lot on loose powders, but did you know you can also set your makeup with powder foundations? Here’s how they differ:
- Powder foundations provide coverage and an even, matte complexion
- Setting powders lock in existing makeup without altering the coverage
Many brands now make double duty foundations that can be worn on their own or used to set liquid makeup. For example:
- MAC Studio Fix Powder Foundation – Buildable medium coverage with a matte finish
- Ilia Fade Into You Soft Focus Finishing Powder – Blurs imperfections while setting makeup
- Charlotte Tilbury Airbrush Flawless Finish Powder – Gives a filter-like effect when applied over foundation
- Powder foundations are great for quick makeup routines or touching up on the go
So don’t be afraid to experiment with using powder foundations to set your liquid makeup. Just be sure to choose an oil-absorbing formula to prevent caking.
How to Apply Setting Powder
Achieving a flawless finish with setting powder is all in the application technique. Follow these tips:
- Pick the right brush – Fluffy, tapered brushes lightly deposit powder. Dense flat brushes press it into the skin.
- Use a powder puff – These velvety applicators press powder directly into skin for buildable coverage.
- Apply lightly – Start with minimal product and build coverage where needed.
- Press into skin – Patting and pressing motion adheres powder better than sweeping or rubbing.
- Work in sections – Powder the T-Zone first, then set the cheeks, under eyes last.
- Avoid baking – Let powder sit for a minute at most before dusting off excess to prevent caking.
Take the time to really press powder into the skin and you’ll be rewarded with smooth, creaseless makeup that lasts!
Loose vs. Pressed Setting Powders
You can find setting powders in either loose or pressed formulas. Which is better? Here’s the lowdown:
- Loose powders – Lightweight, buildable coverage that blends seamlessly into skin. Easy to apply just the right amount.
- Pressed powders – Mess-free application and convenient for on-the-go touch ups. Provides medium to full coverage.
Loose powders like the Laura Mercier Translucent Powder are ideal for the baking technique and light dusting over makeup. Pressed powders like the MAC Blot Powder make application quick and easy.
It comes down to personal preference! Try both kinds to see which gives your preferred finish.
Using Setting Powder Without Foundation
While setting powder is ideal for locking in makeup, you can absolutely wear it on bare skin too.
- Dust it lightly all over the face to mattify skin
- Use it under eyes to brighten dark circles and set concealer
- Apply it to eyelids before eyeshadow to absorb oil
So don’t be afraid to use setting powder solo when you want a quick matte finish without heavy makeup.
Setting Makeup for Dry Skin
Here’s the big dilemma – you want matte, long-lasting makeup but powders can cling to dryness and accentuate flakes. Not to worry, it IS possible to set dry skin beautifully. Here are some tips:
- Prep with hydrating skincare – Hydrating serums, essences and moisturizers create a dewy base that plays well with powder.
- Use minimal powder – Lightly dab powder just in the oiliest zones, avoiding dry areas.
- Try luminous powders – Radiant, hydrating formulas with silk powder or hyaluronic acid prevent powdery-ness.
- Use a damp sponge – Bounce powder on with a damp sponge rather than a brush.
- Finish with hydrating spray – Mist on some hydrating face mist or setting spray.
With the right products and techniques, you can set makeup on dry skin for long wear without accentuating flakiness. The key is starting with intense hydration.
Can Sensitive Skin Use Setting Powder?
If you have sensitive skin, you may wonder if powders are too irritating. The good news is that most people can use setting powders with proper precautions:
- Perform a patch test before first use to check for reactions.
- Stick to powders labeled non-comedogenic to avoid clogged pores and breakouts.
- Avoid ingredients you know you are sensitive to like fragrance.
- Be sure to remove powder thoroughly at the end of the day to prevent irritation.
- Use the minimal amount of powder needed and don’t overdo it.
With the right gentle formula and proper cleansing, setting powders should not cause issues for those with sensitivities. Pay attention to any redness or reactions. And when in doubt, avoid using powder directly on reactive areas.
In Conclusion
That wraps up my complete breakdown on setting powders and baking powders! To recap:
- Setting powders lightly set makeup and control shine for up to 10 hours of wear.
- Baking powders take it a step further, locking makeup in place for 12+ hours when used with the baking technique.
- Translucent powders don’t alter foundation shade and work for all skin tones.
- Banana powders color correct and brighten the complexion.
- Powder foundations provide coverage and mattify as they set makeup.
No matter your skill level, following proper technique for applying setting powder makes a world of difference in the longevity of your makeup! With so many formulas available, play around to find your perfect match. And don’t be afraid to experiment with baking and powder foundations too. Beautifully set makeup that stays put all day is just a fluffy brush away!

Founded by Sophia Rodriguez, IGXO Cosmetics is a PETA-certified, cruelty-free, and vegan makeup brand.
