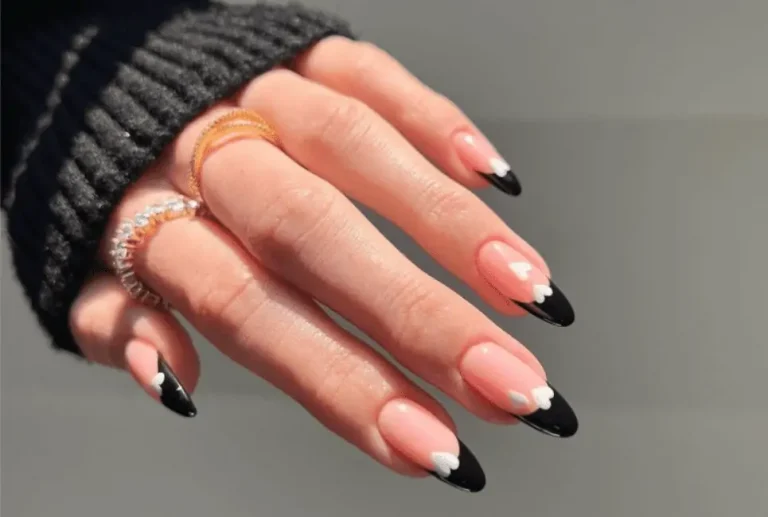
4 Methods To Remove Acrylic Nails Without Acetone
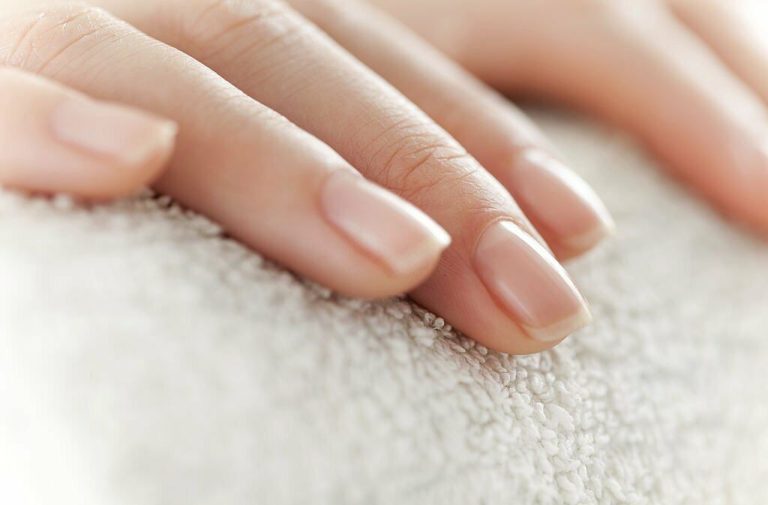
Acrylic nails have become incredibly popular over the years. I love getting acrylic nails because they make my nails look long, strong, and beautiful. The only downside is that they need to be filled in every 2-4 weeks. After about a month, the new growth at the base of the nail becomes too prominent, and it’s time to remove the acrylic and start fresh.
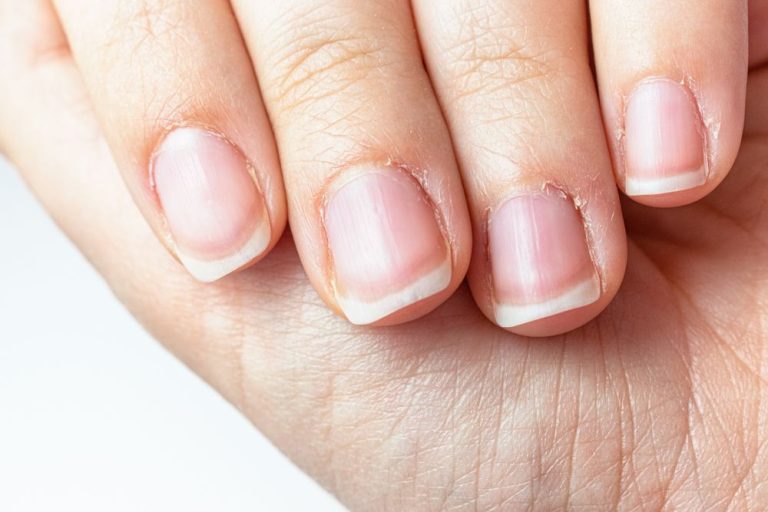
Typically, acetone is used to dissolve the acrylic and glue to remove acrylic nails. However, frequent use of acetone can lead to dry, brittle natural nails and cuticles. For this reason, I prefer to use acetone-free methods to remove my acrylic nails at home.
In this article, I will share several easy, acetone-free techniques to safely remove acrylic nails without damaging your natural nails. I’ll also provide tips for nail care before and after the removal process.
The Drawbacks of Using Acetone to Remove Acrylic Nails
Contents
Acetone has been the go-to solution for removing acrylic nails for years. It works by breaking down the bonds in the acrylic polymer, allowing the extensions to simply slide off the natural nail plate.
However, acetone is an aggressive solvent and dehydrator that can lead to:
- Dryness, brittleness, and cracking of natural nails
- Thinning of the nail plate over time with repeated use
- Irritation, redness, and itching of the surrounding skin and cuticles
- Overexposure can even cause acetone poisoning
For these reasons, it’s best to limit acetone usage and rely on gentler, non-acetone alternatives when possible. The good news is that there are several effective options for removing acrylics safely.
How To Take Off Acrylic Nails Without Acetone
Acetone-Free Method 1: Nail Polish Remover
The easiest acetone-free option is to use a nail polish remover that is free of acetone. There are now many options on the market that rely on gentler solvents like:
- Isopropyl alcohol
- Acetate
- Propylene carbonate
While these may take a little more effort compared to acetone, they will get the job done.
To remove acrylics with nail polish remover:
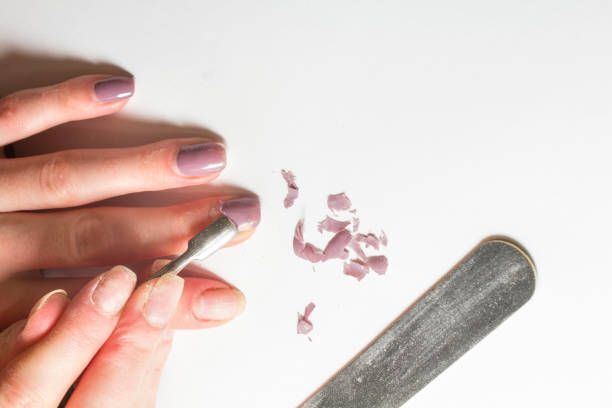
- File the top surface of the acrylic nails to rough up the surface. This helps the polish remover penetrate the acrylic.
- Soak a cotton ball with the acetone-free polish remover. Hold it against the nail for 30-60 seconds before scrubbing gently to dissolve the acrylic.
- Wrap each finger with more soaked cotton balls and aluminum foil. Let sit for 10-15 minutes. This helps soften the acrylic for easier removal.
- Use an orange stick to gently scrape away any remaining acrylic residue.
- File and buff nails to smooth any leftover roughness.
- Apply cuticle oil to condition nails and cuticles.
This method requires a little more patience but is effective at removing acrylic nails without acetone damage. Just be sure to choose a reputable brand of acetone-free nail polish remover.
Acetone-Free Method 2: Warm Water
One of the simplest acetone-free methods is using the power of warm water to loosen the acrylic from the natural nail. The moisture helps break the bond between the acrylic and your nail bed.
Here is how to soak off acrylics with warm water:
- Fill a bowl with warm water and add a small amount of liquid soap. The soap helps water penetrate better.
- Submerge your hands in the water and allow your acrylic nails to soak for at least 20-30 minutes. The warmer the water, the better.
- Start working the acrylic nails off by wiggling and sliding them off gently with your fingers. Do not peel or rip them off.
- Use an orange stick to help scrape off any remaining bits of acrylic still stuck to your nails.
- Re-soak your nails in the warm water bath as needed to fully remove all traces of acrylic.
- Follow up with cuticle oil and hand lotion to moisturize after all the soaking.
The warm water method requires some patience but avoids using any harsh chemicals on your nails. With enough soaking time, the acrylic should slide right off your nail beds.
Acetone-Free Method 3: Cuticle Oil
Using cuticle oil is an easy and effective way to loosen acrylic nails for removal. The oil works its way under the acrylic and saturates the glue bond. Here is the method:
- Apply a generous amount of cuticle oil around the base of each acrylic nail, ensuring it coats the underside area thoroughly.
- Let the oil sit for 5-10 minutes to penetrate the nail-acrylic bond, reapplying if needed.
- Take a cotton swab soaked in cuticle oil and run it around the edge of each acrylic nail to further separate it from your natural nail.
- For added oil penetration, you can wrap each finger with a cotton ball soaked in oil and sealed overnight with tape or foil.
- Once adequately soaked in oil, use an orange stick to gently pry up and peel off each acrylic nail.
- Remove any remaining oil or glue with rubbing alcohol and cotton balls.
The nourishing oils help dissolve the acrylic bonds for easy removal, without stripping your nails of moisture in the process.
Acetone-Free Method 4: Dental Floss
Here is an unusual but handy trick for removing acrylic nails – use dental floss! The strong floss can help slice through the acrylic-nail bond when worked back and forth.
Follow these steps to try the dental floss method:
- Soak nails in warm water or massage in cuticle oil first to loosen the bonds.
- Take a long piece of unwaxed dental floss and work it under the acrylic, sawing back and forth gently.
- Keep sliding the floss under the nail until it separates and can be lifted off.
- Use an orange stick to help loosen edges and remove any leftover glue or acrylic bits.
- File and buff nails after removal and apply cuticle oil and moisturizing lotion.
For quick acrylic removal, dental floss functions similarly to professional wire. When combined with moisture or oil, it can help you painlessly slide off your enhancement in no time!
Tips for Safe, Acetone-Free Acrylic Removal
When removing acrylics at home without acetone, follow these tips for a smooth, damage-free process:
- Never yank or peel acrylics off, as this can tear your natural nails. Work them off gently using the methods above.
- Apply cuticle oil regularly during and after the removal to keep nails flexible and moisturized.
- Use an e-file or orange stick carefully around the cuticles to prevent injury.
- Avoid very hot water that could burn fingers – warm is sufficient.
- Give nails a break from enhancements for at least 1-2 weeks after removal before reapplication.
- Select high-quality, gentle acetone-free nail polish remover from reputable brands.
- Maintain strength by taking biotin supplements and eating a nutritious diet.
- Keep nails looking shiny between acrylic applications by regular buffing and nail oil.
With some patience and the right technique, you can remove acrylics at home without damaging your nails. Always listen to your body and work gently.
Conclusion
Acrylic nails make a glamorous style statement but require maintenance as they grow out. While acetone is an effective removal agent, frequent use can cause nail damage. Luckily, there are several safe, acetone-free alternatives to painlessly remove acrylics at home.
Methods like warm water, nail polish remover, cuticle oil, and dental floss allow you to dissolve the acrylic bonds and slide off enhancements gently. Combine these with care of your natural nails, and you can go back and forth between bare and acrylic nails without compromise.
I hope you found these easy, acetone-free techniques helpful for removing your acrylics safely. Let me know if you have a favorite method I didn’t mention! I love connecting with fellow beauty lovers. Stay tuned for more nail art tips and home remedies coming soon.
Founded by Sophia Rodriguez, IGXO Cosmetics is a PETA-certified, cruelty-free, and vegan makeup brand.