Spooky Chic Almond Halloween Nails: 11 Stylish Ideas To Try In 2026
Almond Halloween nails set a refined tone for fall looks. The reader sees long, tapered tips that balance elegance and theme. This article shows why the shape fits Halloween. It lists tools and prep steps. It then gives three step-by-step designs. It ends with clear tips for DIY or salon service choices.
Key Takeaways
- Almond Halloween nails enhance fall looks with a slender shape that supports detailed art and seasonal colors like muted oranges and deep blacks.
- Proper prep includes trimming, filing to an almond shape, cuticle care, and using a dehydrator and base coat for flawless application.
- Three step-by-step almond nail designs feature classic black matte finishes with delicate hand-painted spider webs and subtle metallic accents for elegance.
- Choosing between DIY and salon service depends on time, skill, and budget, with salons offering longer wear and professional shaping while DIY allows custom practice and gradual improvement.
- Invest in quality tools like a fine file, builder gel, LED lamp, and detail brushes to achieve the best almond Halloween nails, whether at home or in the salon.
Why Almond Nails Are Perfect For Halloween
Almond Halloween nails offer a slim profile that fits many motifs. The shape elongates fingers and supports detailed art. Nail artists choose this shape for balance between style and canvas. The pointed curve lets them add thin lines and small motifs. The shape reduces snagging compared with sharp stilettos. The reader can wear longer lengths without losing practicality. The form suits matte, glossy, and textured finishes. The shape also pairs with seasonal trends like muted oranges, deep blacks, and pearlescent accents.
Prep And Tools For Flawless Almond Halloween Nails
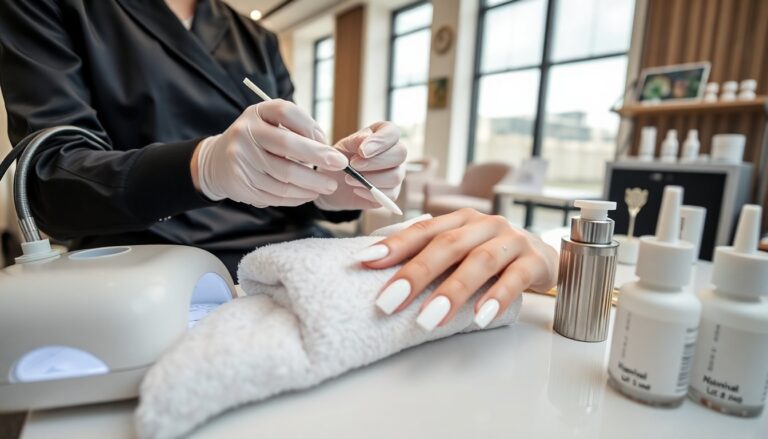
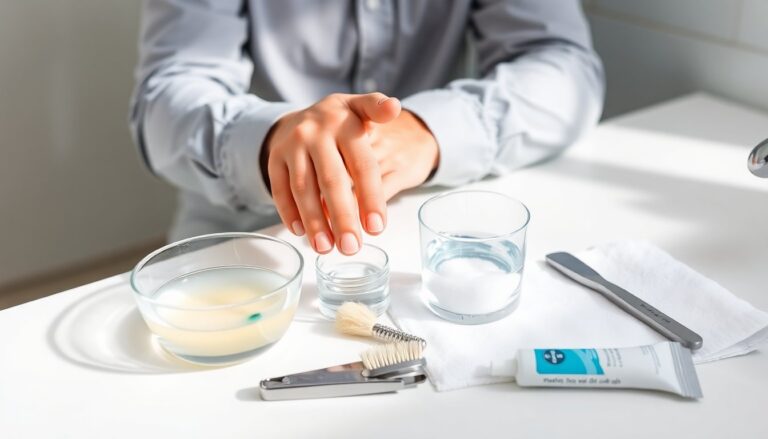
They must start with clean nails. The technician trims and files to a uniform almond silhouette. The client soaks cuticles to soften them. The artist pushes back and trims the excess skin. The technician buffs the nail surface for adhesion. The artist applies a dehydrator and base coat. The kit should include a fine file, builder gel or hard gel, LED lamp, detail brushes, dotting tools, and foil or chrome. The reader should choose breathable polish and fast-dry topcoat for longevity. The artist should test length for comfort before finishing.
Three Showstopper Almond Halloween Designs (Step‑By‑Step)
This section gives three clear sets. Each set lists steps and small tips. The reader follows one design at a time. The steps focus on tools, color layers, and finishing touches. The tone stays practical and direct.
Classic Black Matte With Subtle Hand‑Painted Details
The artist applies two coats of rich black polish. The nail dries under an LED lamp. The painter then uses a thin brush and dark gray polish. The artist draws tiny spider legs and fine web lines near the cuticle. The painter adds a small silver dot for a dew drop. The technician seals the design with a matte topcoat. The matte topcoat mutes shine and creates a chic contrast with thin metallic details. The reader can swap gray for deep purple to match outfit choices.
Quick Tips: DIY At Home Versus Salon Service
The reader should compare time, skill, and budget. A salon gives longer wear and professional shaping. A technician controls length and symmetry well. DIY saves money and lets the reader customize slowly. The home artist should use practice tips like taping guides and thin coats. The reader should invest in a good LED lamp and fine detail brushes for small art. The client should book a trial if they want an elaborate set at the salon. The reader should choose salon service for complex sculpted gels and for longer lasting results.