Under-The-Sea Nails: 25 Creative Ocean-Inspired Designs To Try In 2026
under the sea nails remain a top trend for 2026. They bring ocean color, texture, and charm to everyday wear. Readers will learn why the style matters, which tools to use, how to create three easy designs at home, and how to keep the look long-lasting. The guide uses clear steps, simple supplies, and safe removal tips. It suits beginners and experienced nail artists who want fresh ocean looks.
Key Takeaways
- Under the sea nails are a leading trend for 2026, offering playful and versatile ocean-inspired colors and designs that suit all ages.
- Creating under the sea nails at home is simple with basic tools like nail polish in blues and greens, shimmer powders, shell decals, and a UV lamp if using gels.
- Try easy designs such as the mermaid ombre with scales and pearl accents, following clear step-by-step instructions ideal for beginners and experts.
- Maintaining under the sea nails involves applying a thin topcoat every 5–7 days, protecting nails during chores, and daily cuticle oiling to keep nails healthy.
- Safe removal of gel polish and glued decorations requires soaking in acetone with foil, gentle scraping, and nourishing treatments afterward to prevent damage.
Why Under-The-Sea Nails Are Trending Right Now
Fashion editors report a steady rise in sea-inspired color palettes. Consumers choose under the sea nails for their playful yet wearable look. Brands release shell decals, pearl glitters, and holographic blues to meet demand. Social platforms push short videos that highlight quick transformations. Salons add ocean sets to seasonal menus to boost bookings. Designers pair under the sea nails with beachwear, workwear, and event styles. The trend suits a wide age range. It offers instant personality without large time commitments.
Materials, Tools, And Prep For Ocean-Inspired Manicures
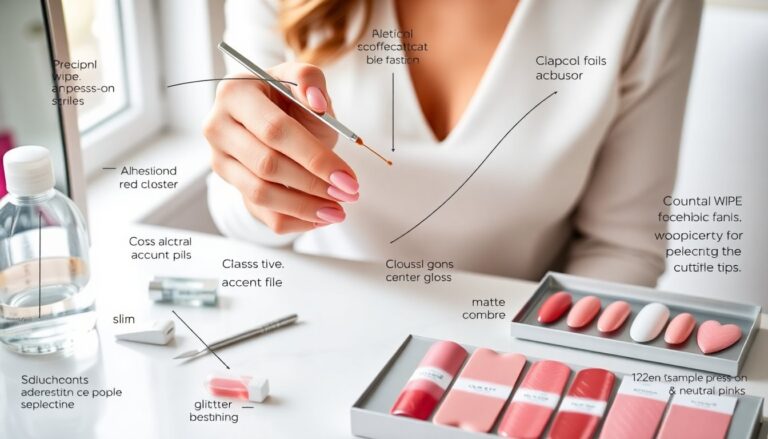
They begin by gathering nail polish, gel polish, and topcoat in blues, greens, and sandy neutrals. They add shimmer powders, small shell decals, and flat-backed pearls. They use a fine brush, dotting tool, sponges, and a UV lamp for gels. They clean nails with acetone and push back cuticles with a tool. They file nails to the desired shape and buff lightly. They apply a thin base coat and cure when needed. They work in a well-lit area and keep small parts in a tray.
Step-By-Step At-Home Under-The-Sea Designs
This section lists three clear designs. Each design includes a short supply list and step sequence. The steps use plain language and easy techniques. They suit home setups and do not require advanced skills.
Mermaid Ombre With Shimmer And Scale Accent
They prepare nails with base coat and a pale blue polish. They sponge on a gradient of aqua to deep teal. They add a thin layer of shimmer polish and cure if they use gel. They paint tiny scale arches with a small brush or use scale stickers. They place a single pearl at the nail base for a focal point. They seal the design with a glossy topcoat and cure or dry fully. They repeat for each nail and check for even edges.
Maintenance, Longevity, And Safe Removal For Sea-Themed Nails
They recommend applying a thin topcoat every five to seven days to extend wear. They advise wearing gloves for heavy chores to reduce chipping. They suggest light oiling of cuticles daily to keep nails healthy. They warn against peeling decals or pulling off gems. For safe removal they tell readers to soak gel polish in acetone with foil for 10 to 15 minutes. They instruct gentle scraping with a wooden stick after soaking. For glued decorations they advise prolonged acetone soak and patient removal to avoid nail damage. They recommend a final nourishing treatment with cuticle oil and a strengthening cream.